
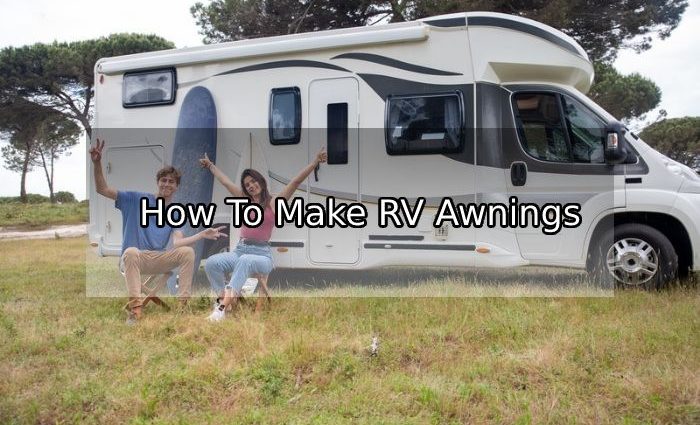
An RV awning is very useful to have in your RV so that you can camp out in the summer without having to bake under the heat of the sun. RV awnings are available to purchase in specialty stores and hardware stores but you can make your own so that you can save more money. Follow these steps to learn how to make RV awnings.
Table of Contents
Materials that you need
The materials that you need for this are tarp material, silicone, Velcro hook and latch, pencil, tape measure and needle and thread.
Measure the length
Determine which side of your RV you are going to place the RV awning on. When taking the measurements, try to see where you will be attaching the poles that will be mounting the tarp material. Take down the dimensions on a piece of paper so that you won’t forget later on.
Purchase the frame and tarp material
Go to your local hardware store and purchase the right awning frame and tarp material that you need. There are many different types of awning frames that are available and some are sturdier than others. The tarp material that you should buy should be a bit larger than the dimensions that you have.
Mark the tarp material
Work on a wide and spacious area. Lay down the tarp material and make sure that it is stretched out. Now use your pencil to draw the dimensions that you measured earlier on the tarp material.
Cut slits on the tarp
Now that you have the dimensions down on the tarp material, you can cut slits at the 4 corners. You need this so that you can mount and secure the tarp on your RV. Make sure that you do not cut until the edge of the tarp or you will rip it apart.
Attach Velcro strips
Cut Velcro pieces about 2 inches in length. This will be used to mount your tarp. Use a needle and thread to sew the Velcro strips to the hook and latch strips that you have.
Finish the RV awning
Stitch the corners of the RV awning where you cut the slits. This is to make sure that the slits do not rip open. Add a bit of silicone to the edges of the tarp material to make it last longer. Allow the silicone to dry for about a day. Now you can connect the tarp to the awning frame using the Velcro. Make sure that the hook and latch can support the weight of the tarp material.
These are the steps that you can follow if you want to make your own RV awning. You can save a lot of money by making your own instead of purchasing a ready made one. If you camp out often using your RV, you can read on some tips that you can use for camping and for taking care of your RV. Visit the website New RVer. You will be able read tips on RV buying, RV tech tips and many more.
Comments are closed, but trackbacks and pingbacks are open.